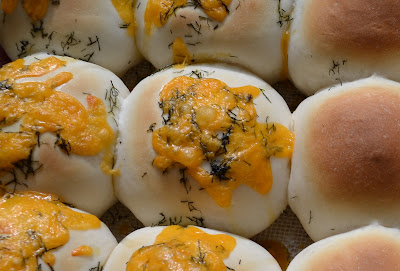
these dill cheese buns pair perfectly with any soup, but borscht is always my first choice. they also soak up beer really well after a hockey game, just ask my team. and as for the regular buns, this batch was used as a side for a roasted chicken dinner, but what i really make them for is an afternoon snack. i make little butter and jam sandwiches and have them with tea. it is an instant time warp to being about 6 years old and spending time with my great grandma. i guarantee every great grandchild of hers thinks of fresh bread, butter and jam the same way.
i got this particular bun recipe from a friend - and it is so, so, so good. it's basically the perfect, homemade comfort food. and it was originally her (ukrainian) mom's recipe, so that automatically makes it worthy.
so here, i try to do it justice. the good news is that it's really easy. i love these cheesy dill buns? dill cheese buns? whatever you call them, they're better than you think they will be. and they totally deserve this photo essay/tutorial.
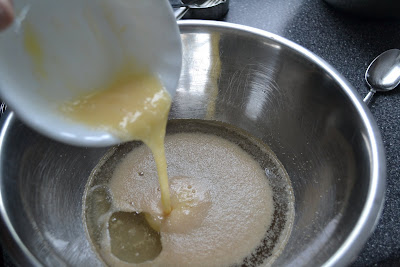
 while the yeast reconstitutes, get your flour mixture, egg and oil ready.
i'm all about the mise en place.
 mix it together, adding more flour if necessary, until it resembles a sticky dough. it should pull away from the counter easily, but will still stick to your hands. place the dough in a clean, lightly oiled bowl, cover it, and put it in a warm spot for it to rise. check the instructions on your yeast package for rising times.
 roll the dough out on a floured surface and punch it down/knead it for a few minutes. seriously, just a few. or throw it in your kitchen aid mixer while you grate some cheese and get the dill out of the freezer. (ain't no fresh dill around these parts in march.)
 when the dough has had it's work out, start rolling out the buns. i can be a little, ah... ocd about cooking sometimes, so weighing out my buns makes me very happy. and 1.8 oz. is my favourite number for buns.
 flatten out the dough using the palm of your hand and add a pinch of cheese and a pinch of dill. make sure you don't flatten it too thin, because you don't want these to burst while baking.
 after you have them all rolled up, gently cover the buns with a clean towel, and place them back in a warm place to rise for another half hour. this batch wasn't all dill and cheese, so i made sure to mark which rows were them.
 after they've risen, add another pinch of dill and cheese to the tops, being careful not to disturb any of the buns too much and risk deflating.

 and at this point, right out of the oven, i brush the plain buns with butter. but only because a (different) ukrainian mom does that.


No comments:
Post a Comment